Node Tutorial - Part 2: Project Graph
Run the command: npx nx graph. A browser should open up with the following contents:
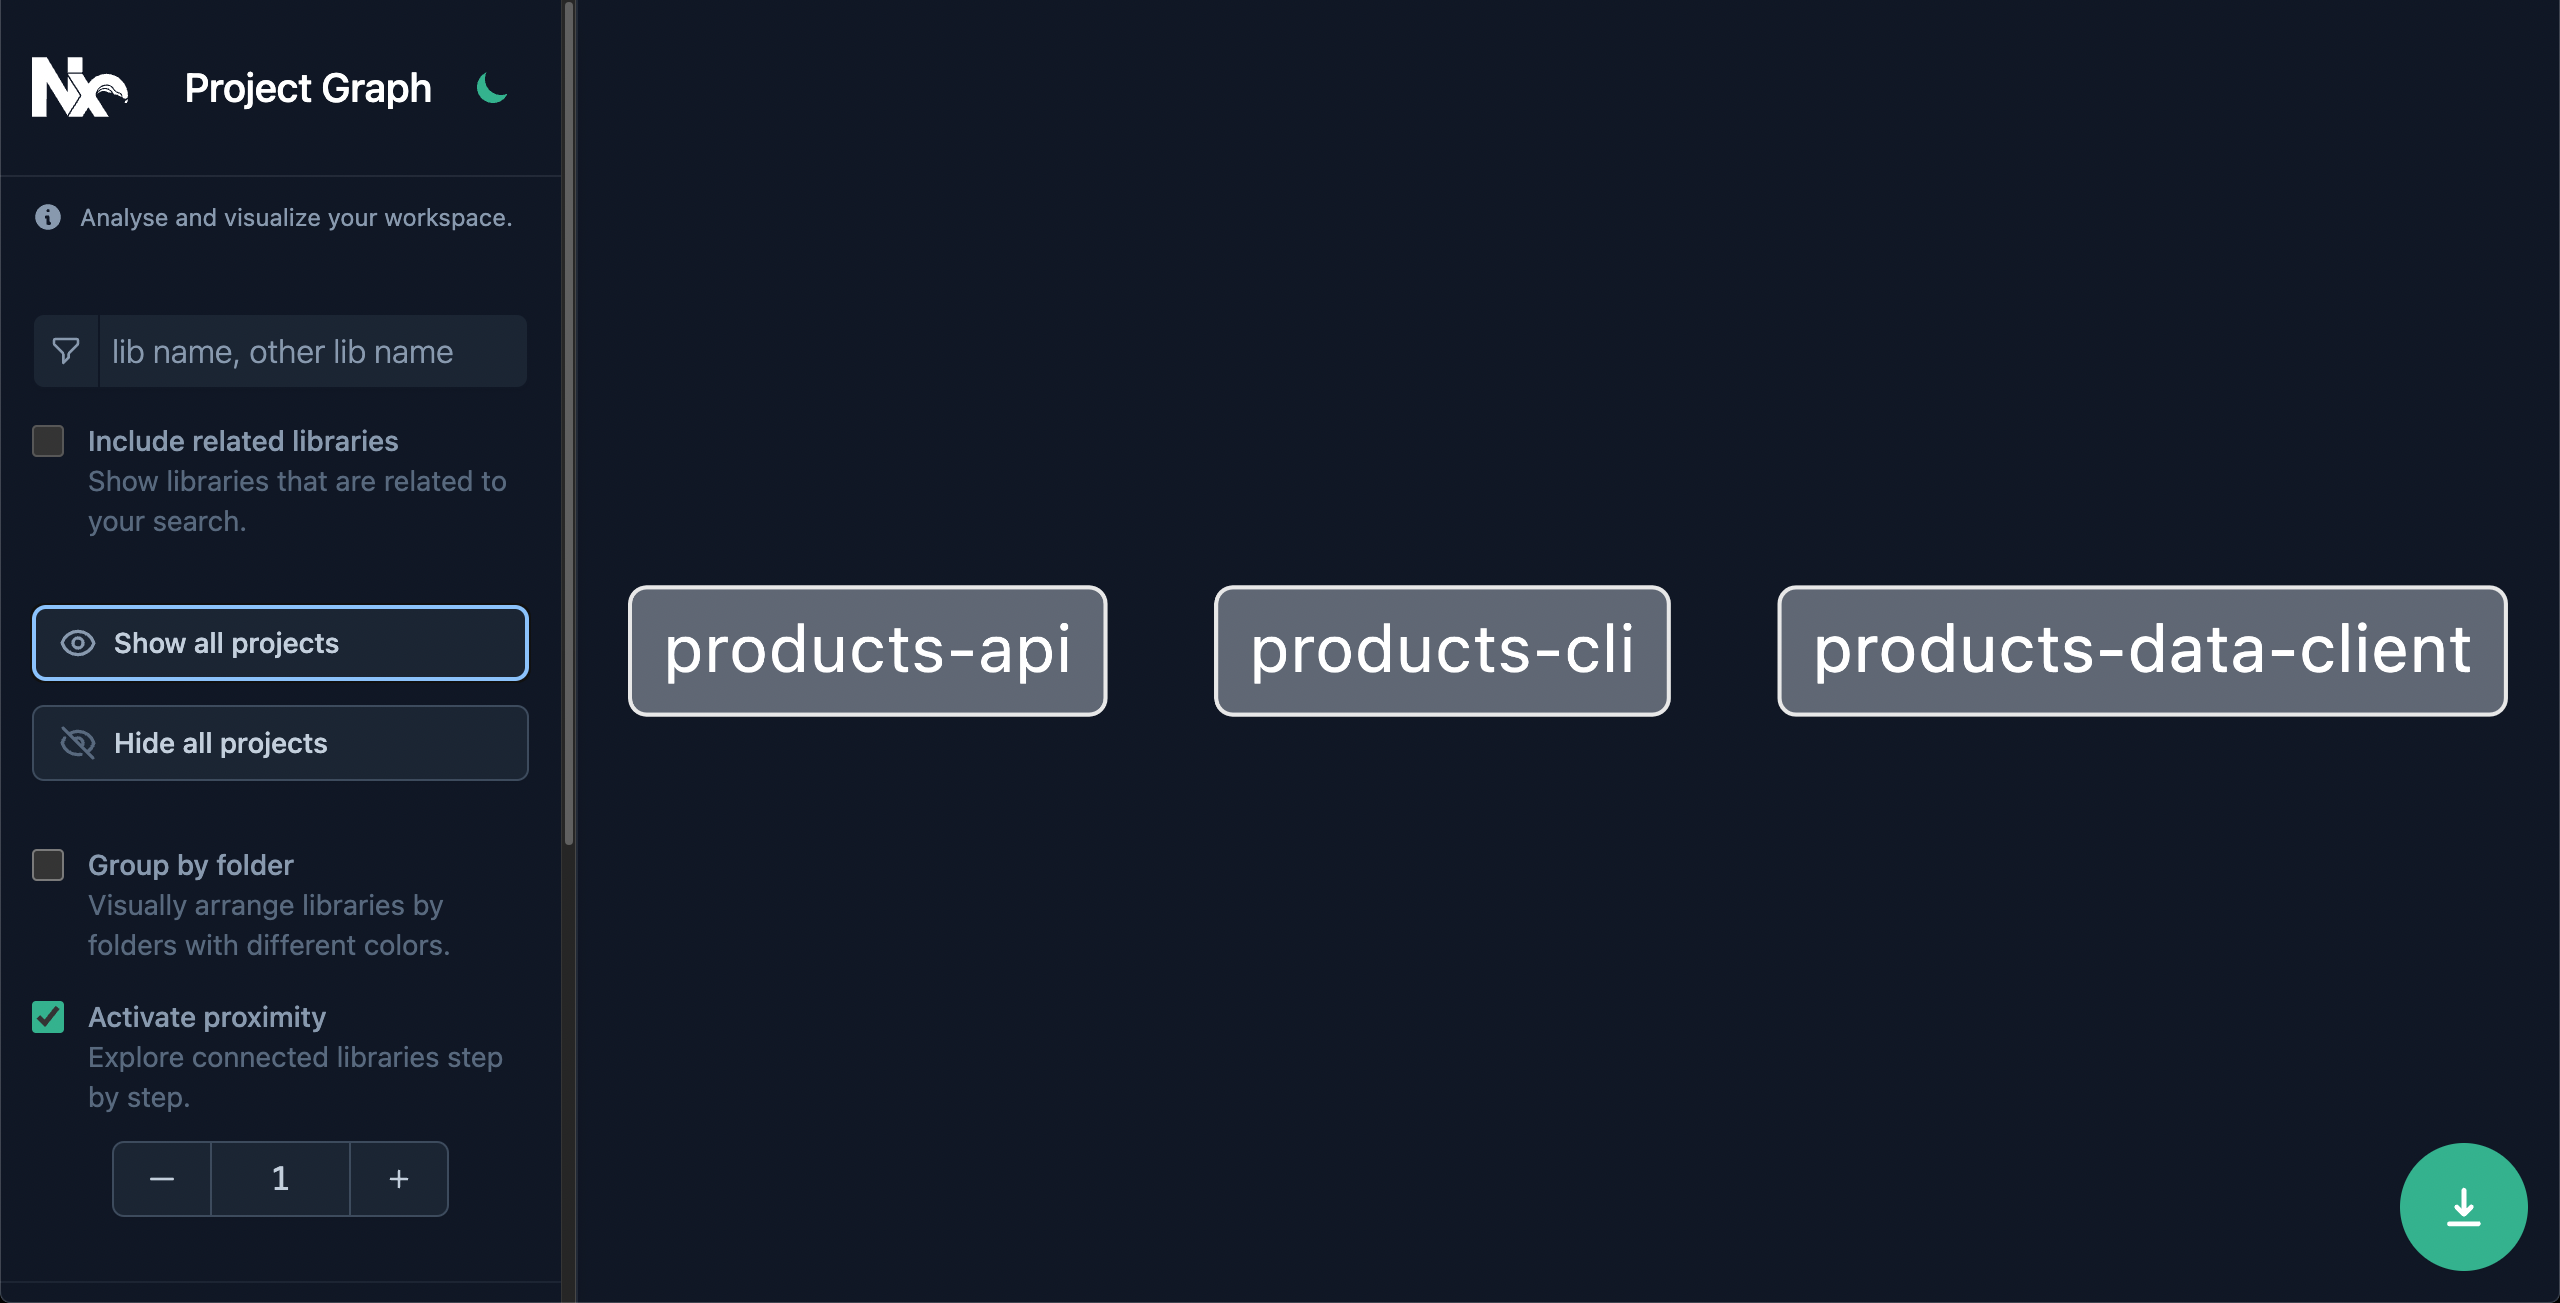
This is still different from the design from the start of Part 1:

The Project Graph is derived from the source code of your workspace. Make the following adjustments to your existing projects, so that our Project Graph will match the design:
products-data-client
Update the contents of the generated products-data-client.ts file:
export interface Product {
  id: string;
  name: string;
  price: number;
}

export interface ProductsDataClient {
  getProducts(): Promise<Product[]>;
  getProductById(id: string): Promise<Product | undefined>;
}

export const exampleProducts: Record<string, Product> = {
  '1': { id: '1', name: 'Product 1', price: 100 },
  '2': { id: '2', name: 'Product 2', price: 200 },
};

export function createProductsDataClient(): ProductsDataClient {
  return {
    getProducts() {
      return Promise.resolve(Object.values(exampleProducts));
    },
    getProductById(id) {
      return Promise.resolve(exampleProducts[id]);
    },
  };
}
products-cli
Update the generated main.ts file of this project to import the createProductsDataClient() function.
Use the data client to print the product matching the id provided at the command-line. If no id was provided, print all products as an array:
import { createProductsDataClient } from '@my-products/products-data-client';

main();

async function main() {
  const productsDataClient = createProductsDataClient();
  const id = getProvidedId();
  if (id != null) {
    const product = await productsDataClient.getProductById(id);
    console.log(JSON.stringify(product, null, 2));
  } else {
    const products = await productsDataClient.getProducts();
    console.log(JSON.stringify(products, null, 2));
  }
}

function getProvidedId() {
  return process.argv[2];
}
products-api
Update the generated main.ts file of this project to also import the createProductsDataClient() function.
Use the data client and Express to create an Express app with 2 GET request handlers:
/**
 * This is not a production server yet!
 * This is only a minimal backend to get started.
 */
import * as express from 'express';
import { createProductsDataClient } from '@my-products/products-data-client';

const app = express();
const productsDataClient = createProductsDataClient();

app.get('/products', async (_req, res) => {
  const products = await productsDataClient.getProducts();
  res.send(products);
});

app.get('/products/:id', async (req, res) => {
  const id = req.params.id;
  const product = await productsDataClient.getProductById(id);
  if (product == null) {
    res.status(404).send();
    return;
  }
  res.send(product);
});

const port = process.env.port || 3333;
const server = app.listen(port, () => {
  console.log(`Listening at http://localhost:${port}`);
});
server.on('error', console.error);
Now run npx nx graph again:
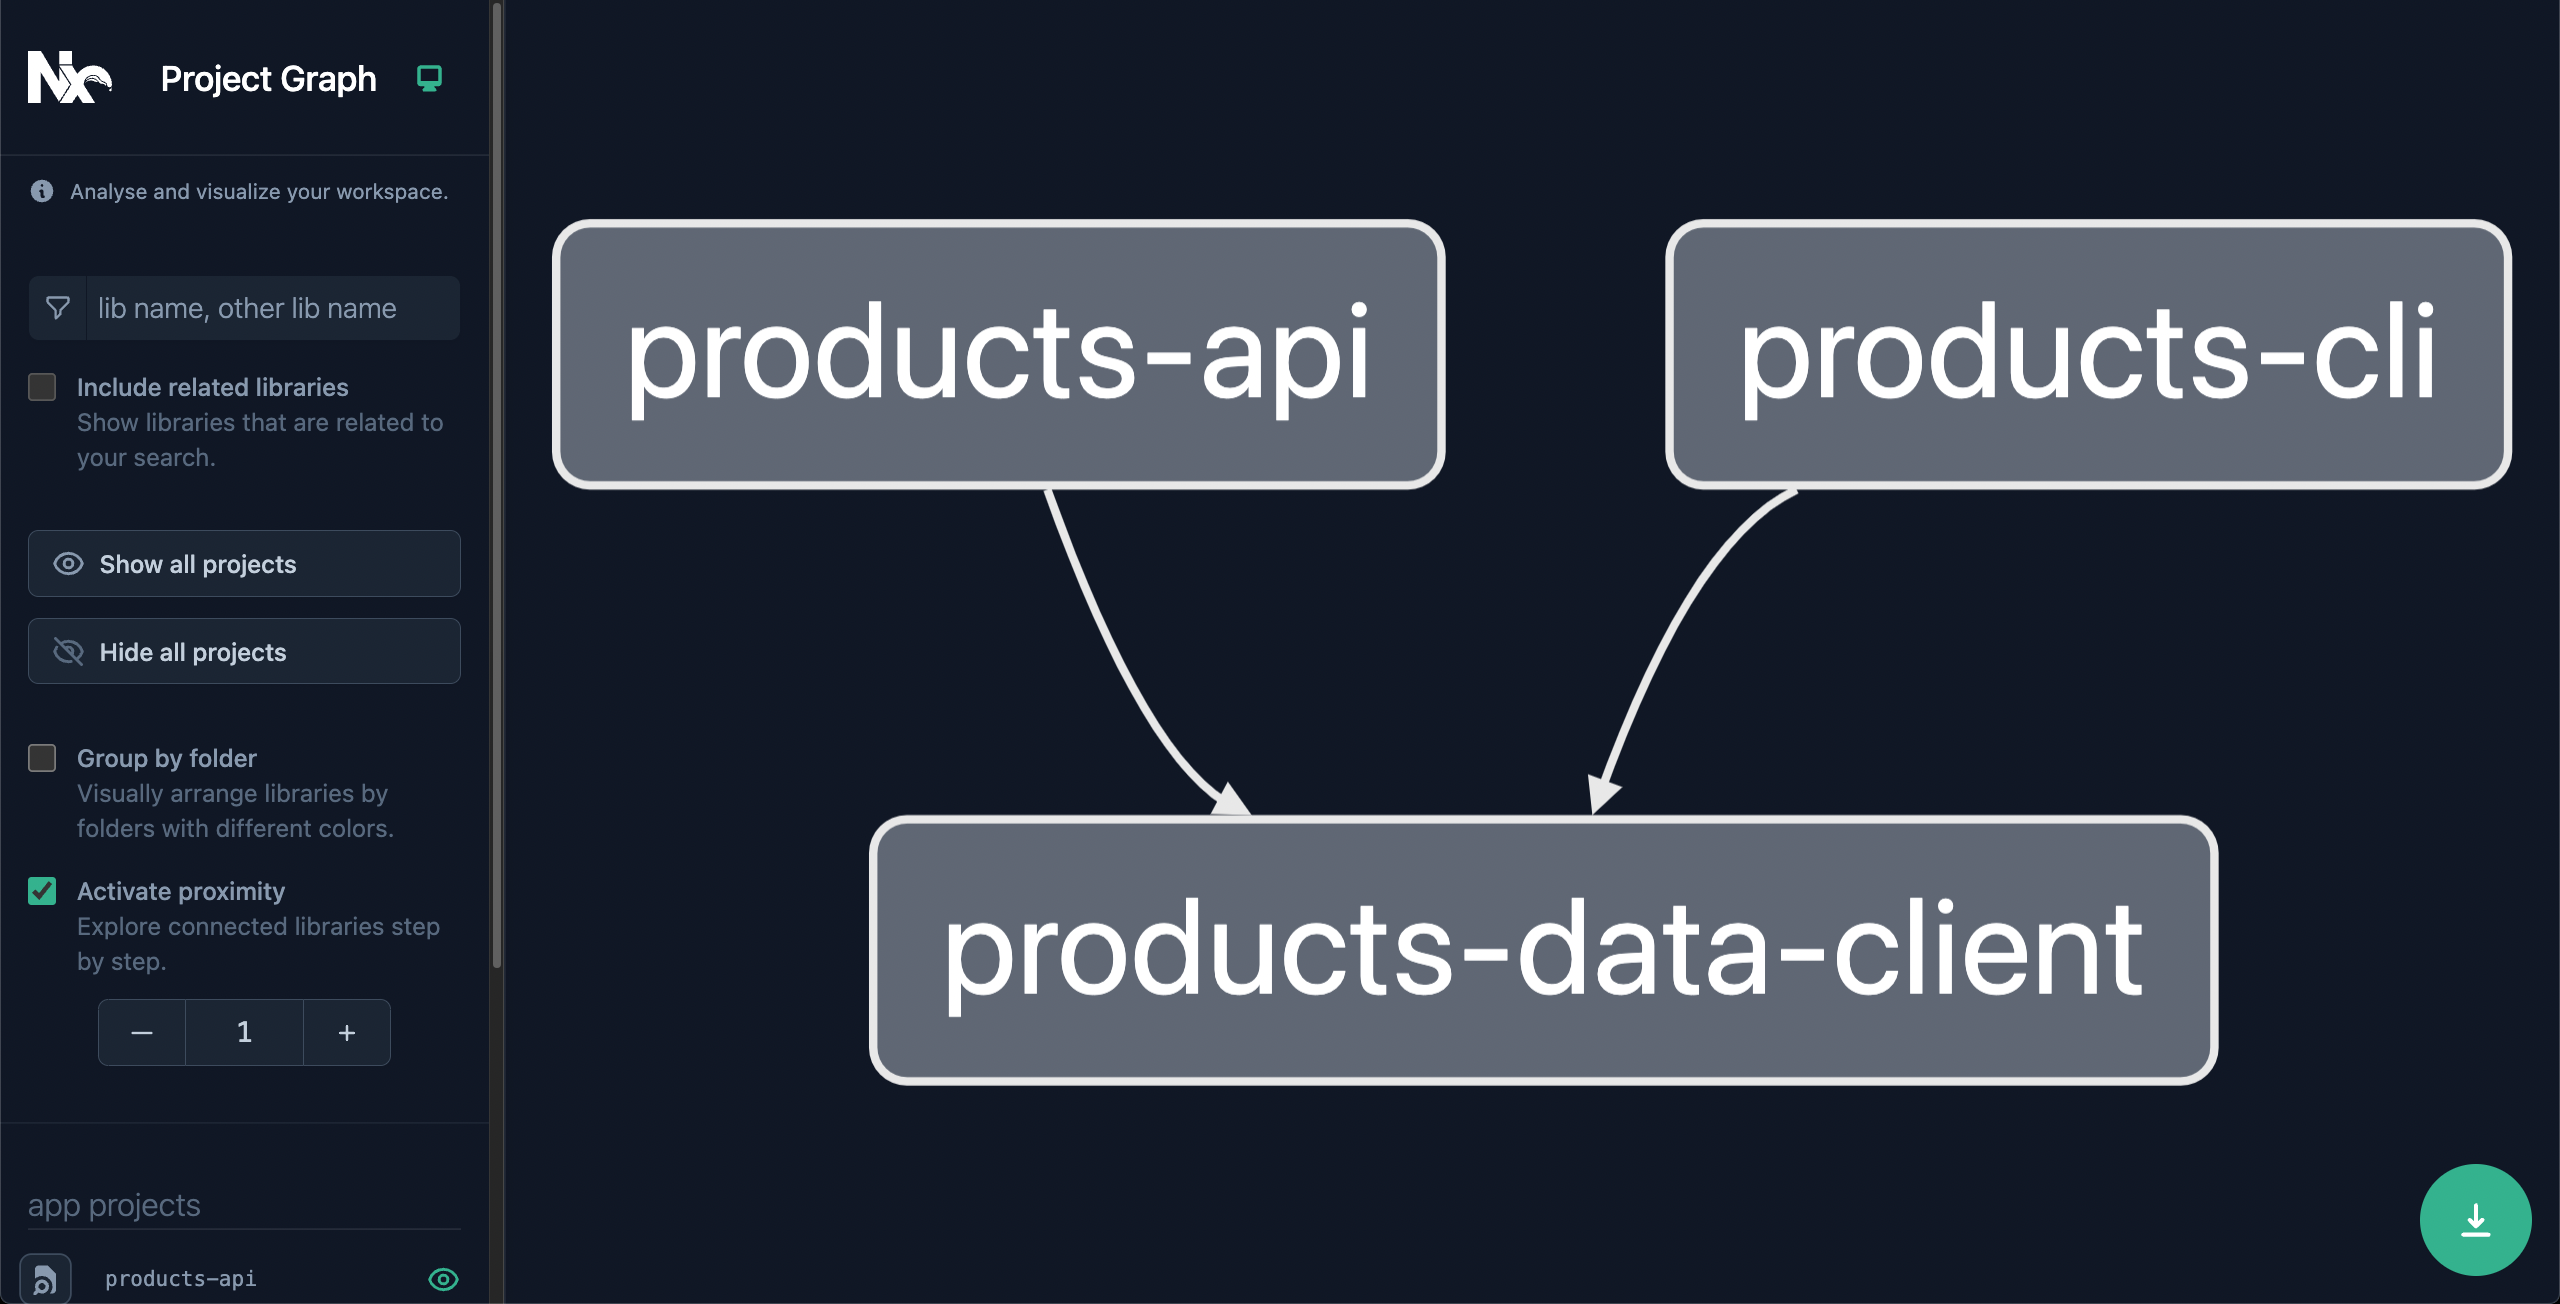
Your graph now matches the original design.
The Project Graph is more than just a visualization - Nx provides tooling to optimize your task-running and even automate your CI based on this graph. This will be covered in more detail in: 4: Workspace Optimization.
What's Next
- Continue to 3: Task Running